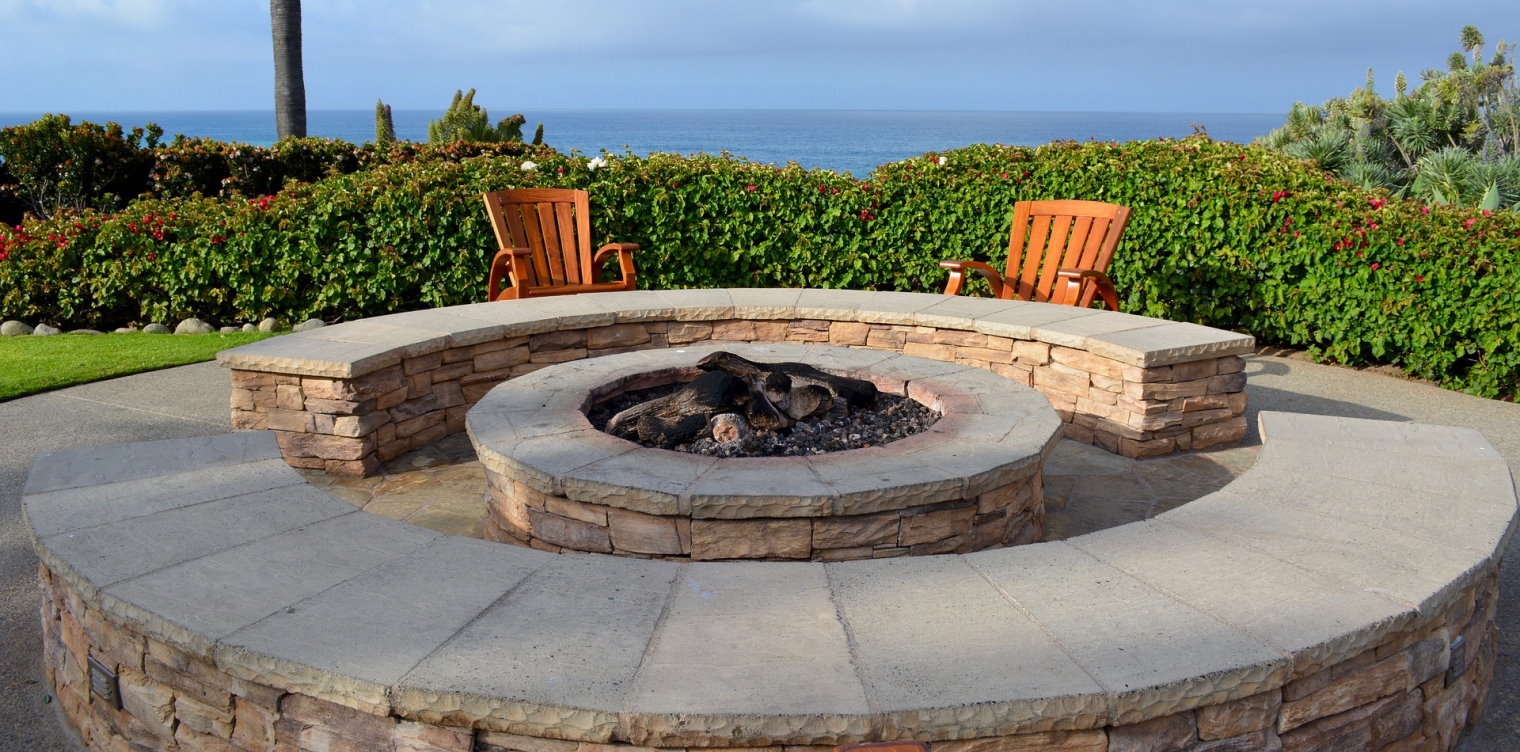
Firepit insert kits make it easy to turn your yard into a place to love. And though it requires a little work, assembling your own doesn’t have to take much time.
Install A Firepit Insert Kit
If you’re ready to install your firepit insert set, the following are some of the quickest and simplest steps to help you get there:
Plan and Prepare
Before you get started on any of the actual work, you need to take the time to prepare. This should begin with choosing a location, preferably several feet away from your home, low-hanging limbs, and any other structures.
Next, you’ll want to take a look at your kit to ensure you have everything you’ll need. The instructions should also tell you how wide your pit should be to accommodate a sturdy structure.
Once you know the width, mark it off at your desired location. One of the easiest ways to do this is to place a stake in the ground that has a string attached to it. The string should be a little more than half of the width you need, with the free side tied to a spray paint can. Then, simply walk around to paint an even circle on your grass.
You’ll also need to gather supplies. This will include gravel, the stones for your pit, a shovel, lava rock, and construction or landscaping adhesive.
Fix the Foundation
Once your circle is marked, you’ll want to remove the top layer of grass. Aim to keep the underlying dirt even. Pack down the soil, add a couple of inches of gravel, and then spread the gravel evenly in the circle. Spray the area with your garden hose, pack down the gravel, and add a little more – about half an inch should do. Then, pack it down again.
Lay Out Your First Layer of Stones
At this point, you should have a level, safe circle to work within. Start by placing your stones at the inner edges of the circle. Place your insert inside the circle to make sure your measurements are correct. If not, make the necessary adjustments. If your measurements are correct, take the ring back out for now.
Lay the Second Layer
After your first layer is in place, you can start adding your second row of stones. Be sure that you stagger the stones so that they look like stairs. Placing them directly on top of one another with the cracks lining up can lead to many issues.
Secure Stones and Continue With Layers
Now, take two stones down at a time. Apply your adhesive and put those two blocks back. Move around the circle repeating these steps with two stones at a time.
After your second layer is set, add the third layer. Repeat the steps with your landscaping adhesive until the third row has been secured. Some inserts will only require three rows. Others require that you add an extra one, especially if the stones are smaller. Four rows are typically best for the Walden Legacy Series Fire Pit Insert Set.
Place Your Insert In
After adding and securing your necessary stone rows, you can place your insert back inside. You can then fill the bottom with lava rock or another filling. Your insert kit will give you any additional directions needed for placing accessories or other pieces in. If you choose the Walden Legacy Series Firepit Insert Set, you’ll have everything you need in a design that is easy to use and fits together intelligently for convenience.
Admire Your Hard Work
Now that you have installed your firepit, it’s time to enjoy the fruits of your labor. Sit back, relax, and call some loved ones over or spend a quiet night by the fire.
As you can see, installing your firepit doesn’t have to be complicated. In fact, as long as you have your supplies ready to go, it’s something you can accomplish in a day.
Check out Walden Backyard's Firepit Insert Set and a variety of fun accessories to enjoy by the fire!
Luxury Firepits - Firepit Accessories - Firepit Grates
Walden Backyards Makes the Highest Quality Fire Pits and Accessories
Legacy Firepit - Blow Through Stoker Poker - Fire Pit Grates - Accessories


Leave a comment
This site is protected by hCaptcha and the hCaptcha Privacy Policy and Terms of Service apply.