Congratulations on your purchase of a Walden Legacy Series™ Complete Fire Pit Set! We are sure that you will build many lasting memories with friends and family around your new fire pit for years to come! Here are 10 easy steps that we hope will help to make the installation of your new outdoor fire pit a fun and easy DIY assembly experience:
Block Recommendations:
The Legacy easily fits in any opening between 30.5” and 35” in diameter, and at least 15” from the ground to the top of the top layer of stone.
A block style that meets these requirements that we like to recommend is the Beltis Wall Block. It is a 4"x11"x6" block that you can pick up at your local Home Depot:
Beltis 4 in. x 11 in. x 6 in. Tan Charcoal Concrete Retaining Wall Block
Otherwise, Lowe's has a similar block of the same dimensions if you prefer a more reddish color:
Legacy Series Features:

Complete Fire Pit Set Assembly Instructions:
- Choose a location - Find a level location, away from your house or low overhanging branches, to assemble your fire pit.
- Assemble your blocks - Create the structure in which your Legacy Insert will be housed by assembling your trapezoidal blocks beside one another. Stagger each layer of blocks so that the middle of each block on the second layer overlaps with the crease between each block on the first layer, and so on.
- Place the Brim Ring over the hole - Set your Brim Ring on top of the blocks that you have assembled.
- Place the Insert Ring inside of the Brim Ring - As the Insert Ring has some heft to it, we recommend standing inside of the Insert Ring to lift it, and then stepping over the blocks and Brim Ring and into the fire pit hole that you have created. Rest the Insert Ring so that the outward-facing flange sits flush on top of the Brim Ring.
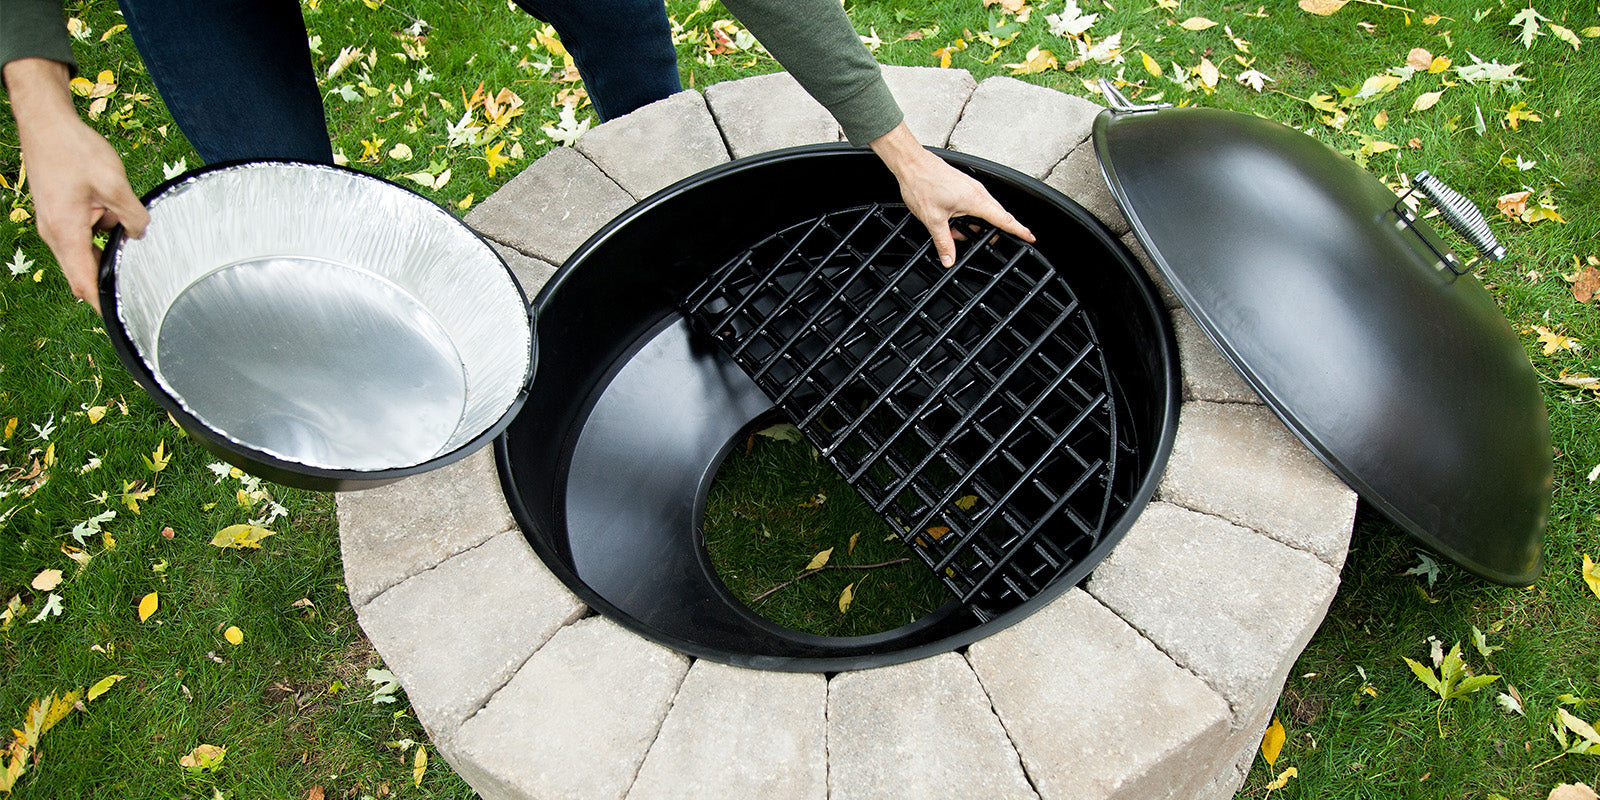
- Place the Ash Funnel into the bottom of the Insert Ring.
- Place the Ash Basket into the bottom of the Ash Funnel.
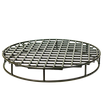
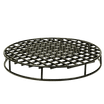
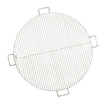
- Place the Steel Grate into the Insert Ring - The Steel Grate will be elevated atop the Ash Funnel and Ash Basket to provide for maximum airflow, and superior bonfires.
- Assemble Cool Touch Handle on your Snuffer Lid - Parts and instructions are include in each Legacy Insert kit.
- Place the Snuffer Lid on top of your fire pit.
- Enjoy for the rest of your life!
Now that your new Legacy Insert is all set up, just strike a match and admire your work! We appreciate your choosing Walden, and we hope that you think of us for all things fireside!



Leave a comment
This site is protected by hCaptcha and the hCaptcha Privacy Policy and Terms of Service apply.